
Assembly Guide
Follow along with the assembly instructions below!
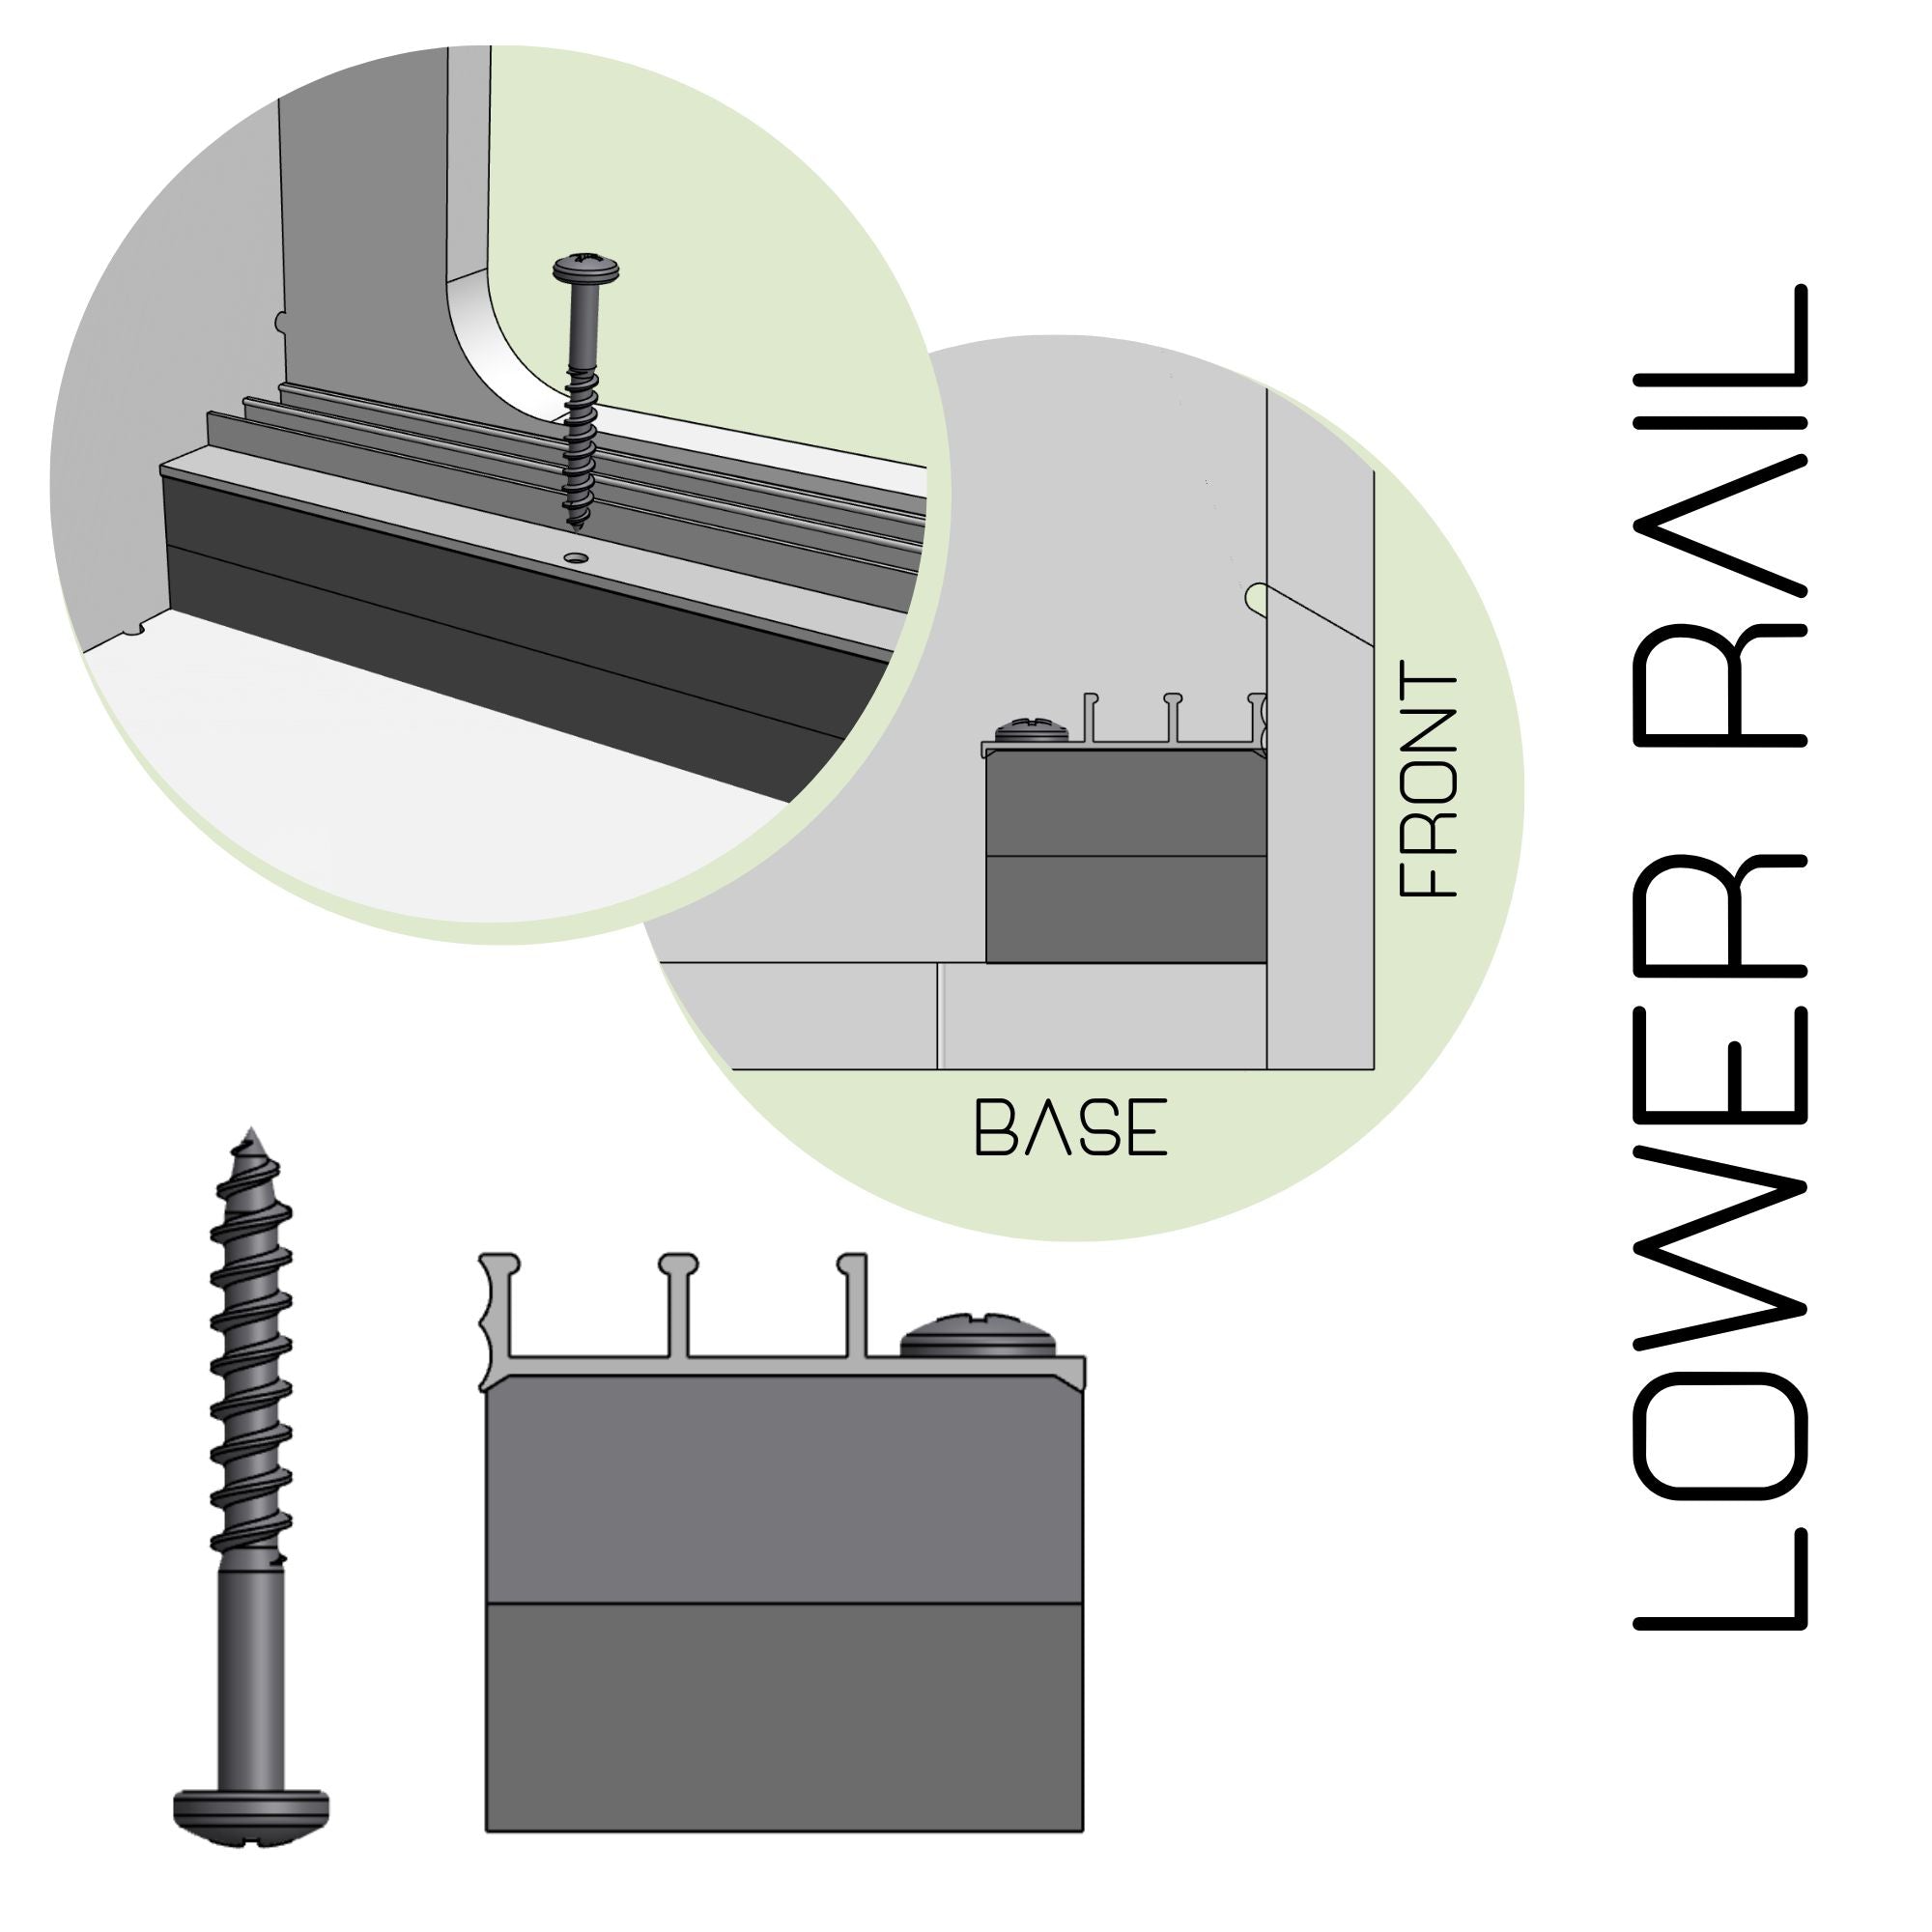
Bases assemble just like enclosures. Sliding track attachment shown after standard instructions.
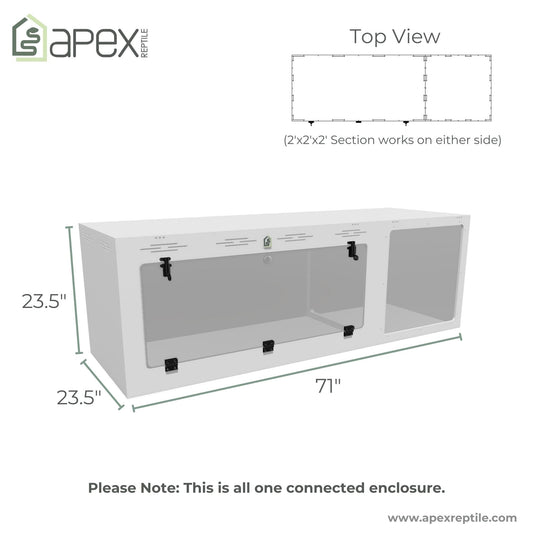
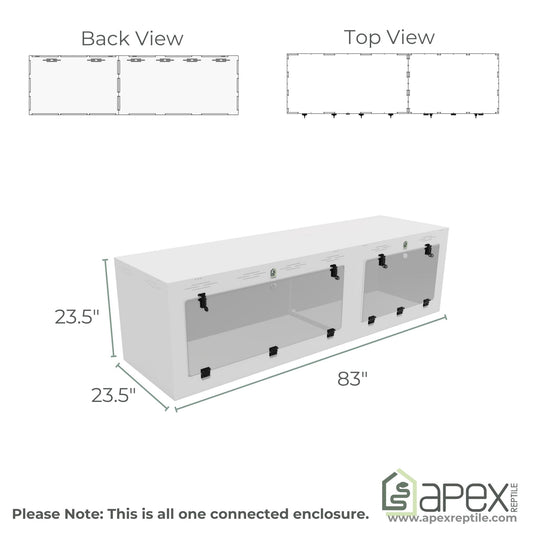
Details on extensions & multi-block enclosure diagrams are at the bottom of the page!

Quick Tips:
- Attach door hardware first
- Stickers face inside enclosure
- Build 4 enclosure walls first, matching opposite arrows
- Add assembly screws into bottom and sides
- Silicone inside seams
- Install lighting (solid top only)
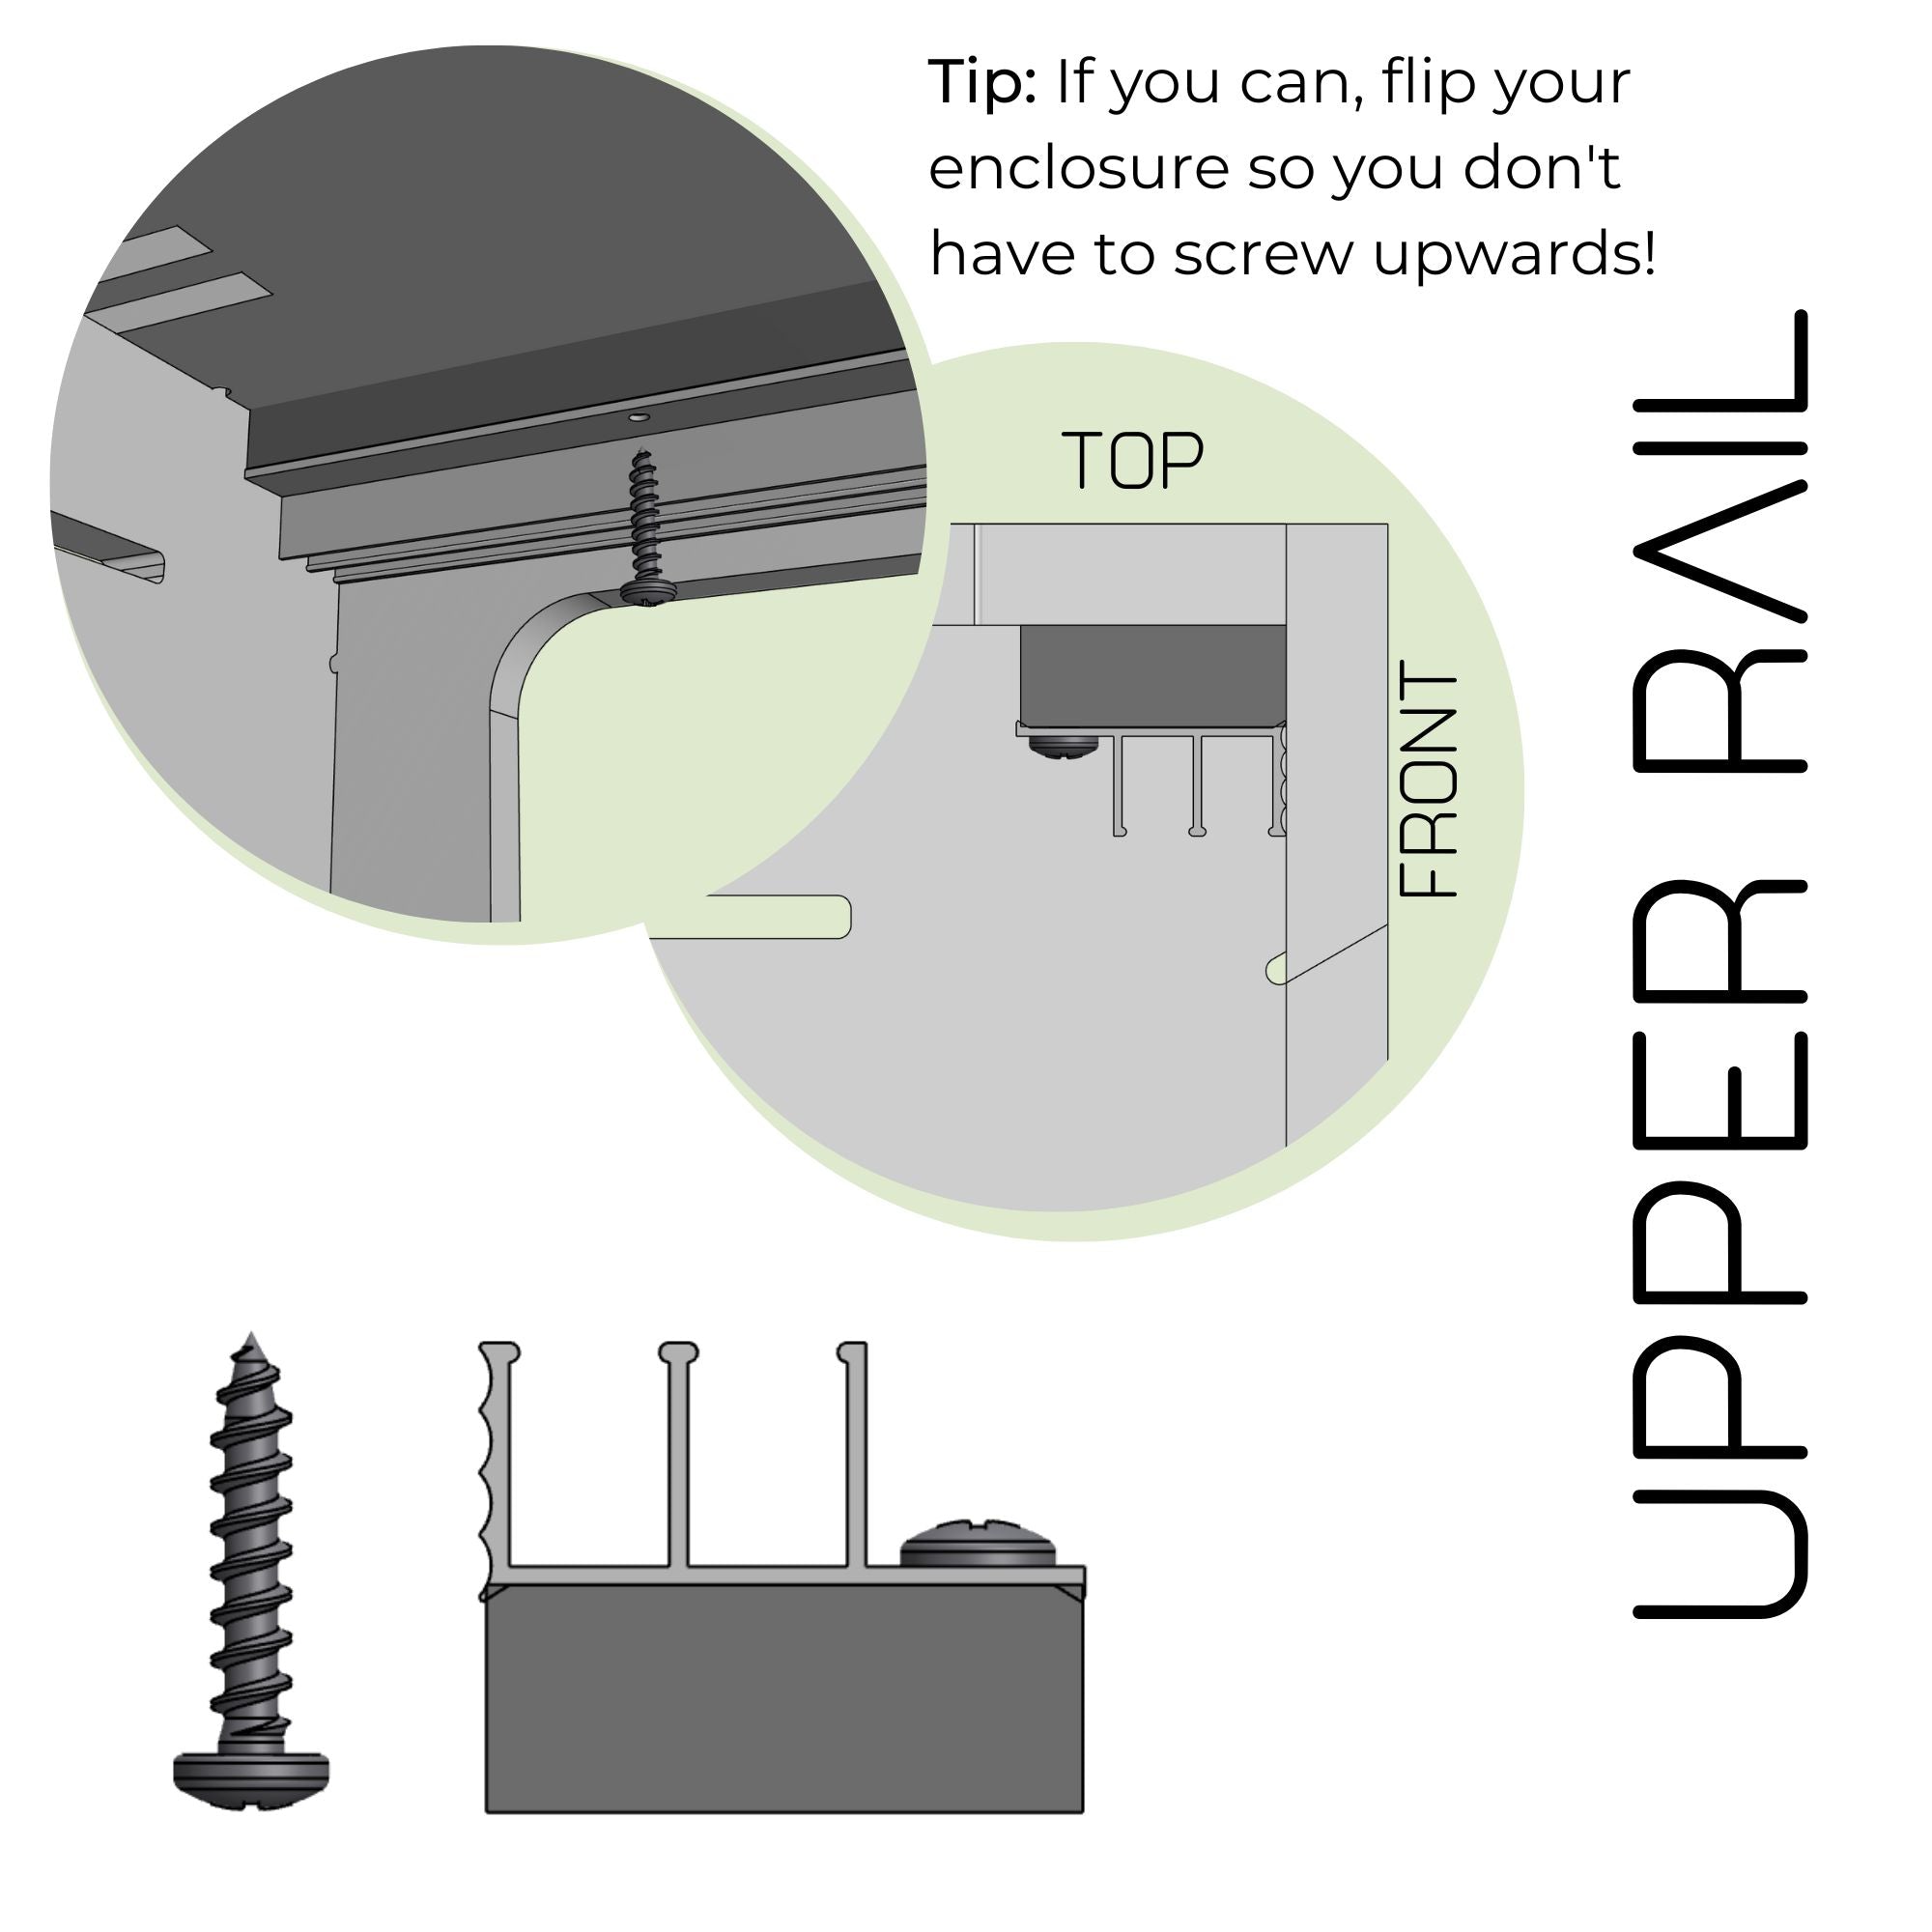
- Install top panel, add assembly screws into top
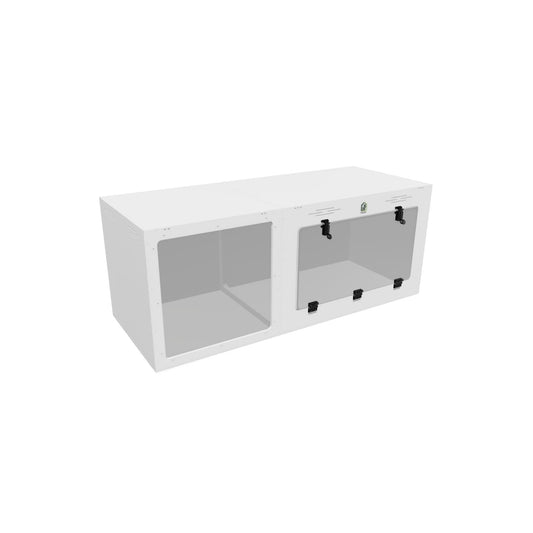
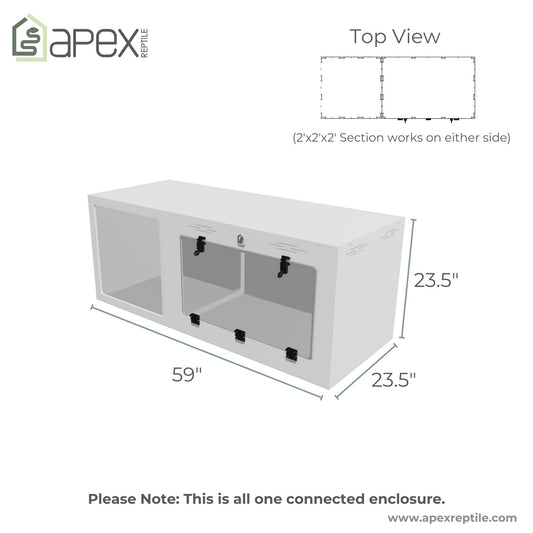
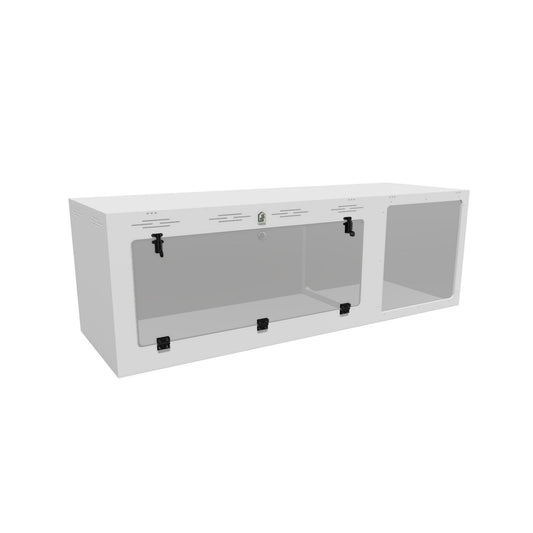
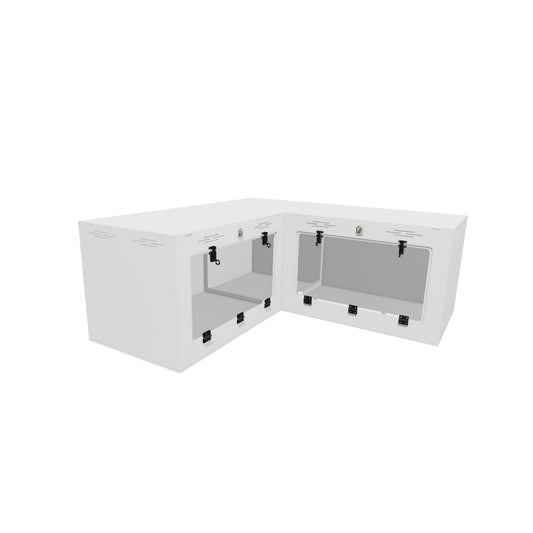
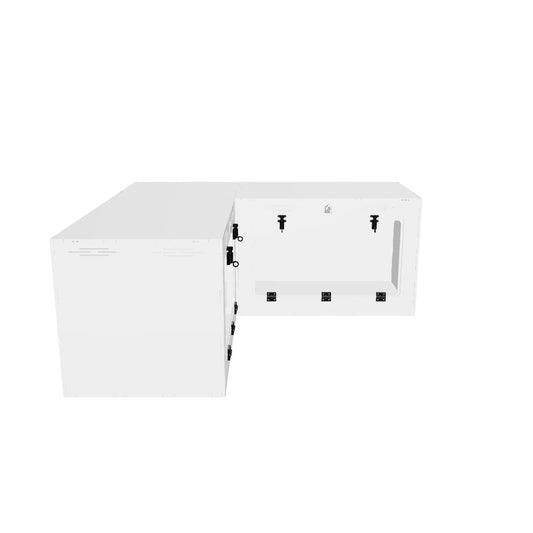
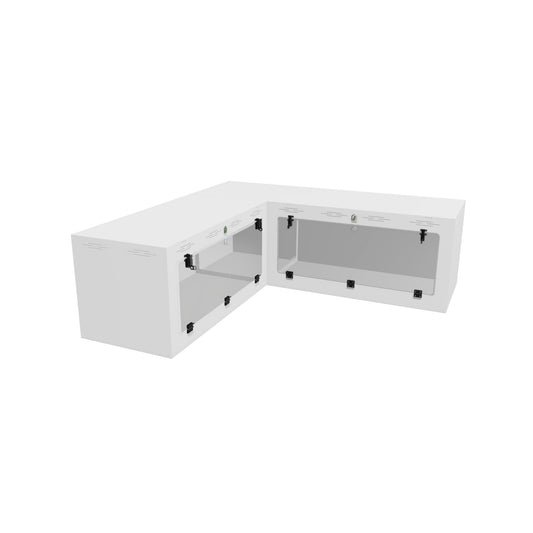
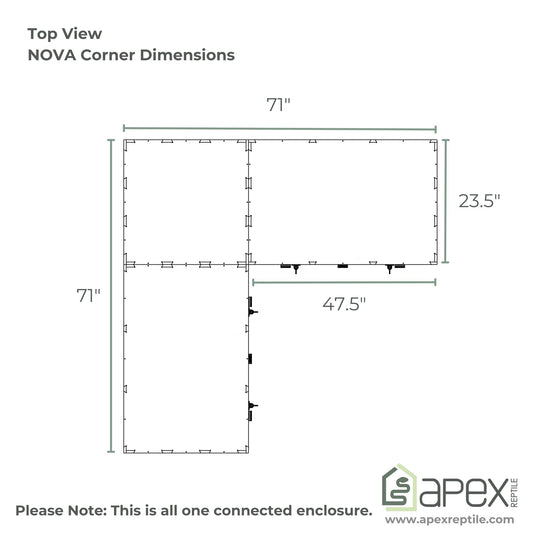
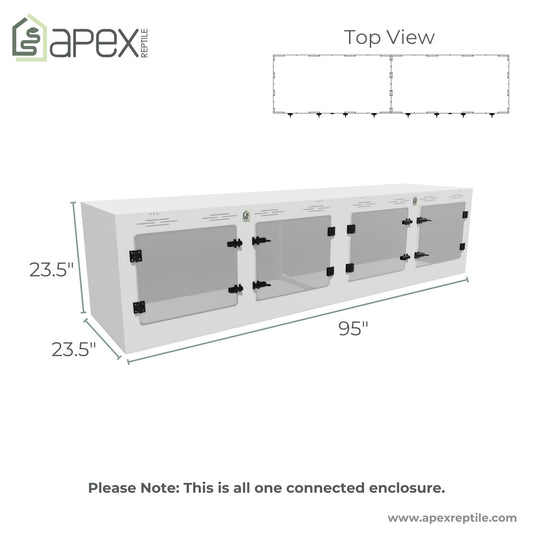
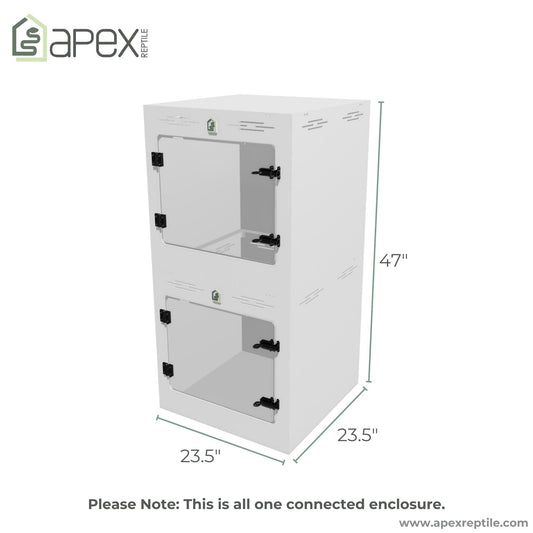
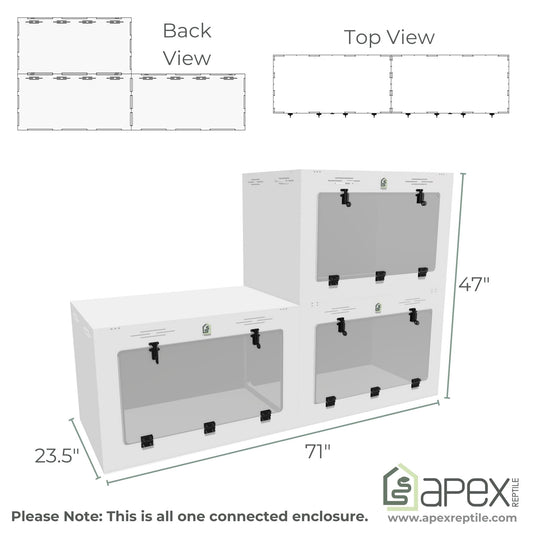
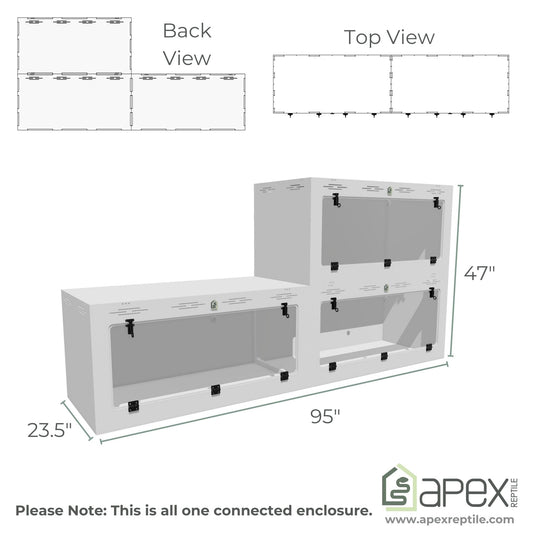
Multi-Block Enclosure? Complete one block at a time. Install pass-through panels on connecting walls, then bolt blocks together.
Attach Door Hardware First
-

Assembly Tip: Use the tool provided or your own, but don't tighten too hard.
-


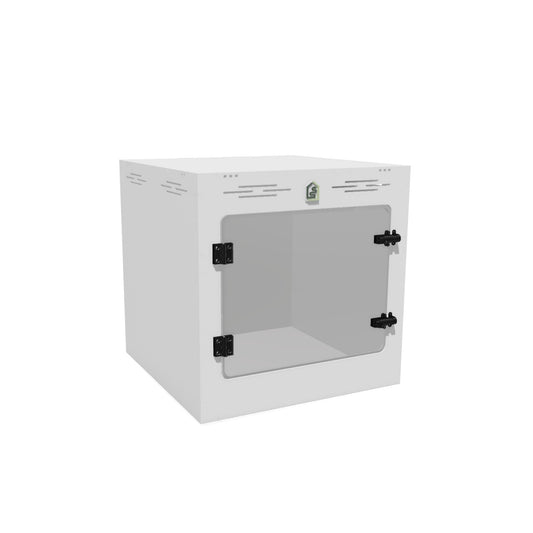
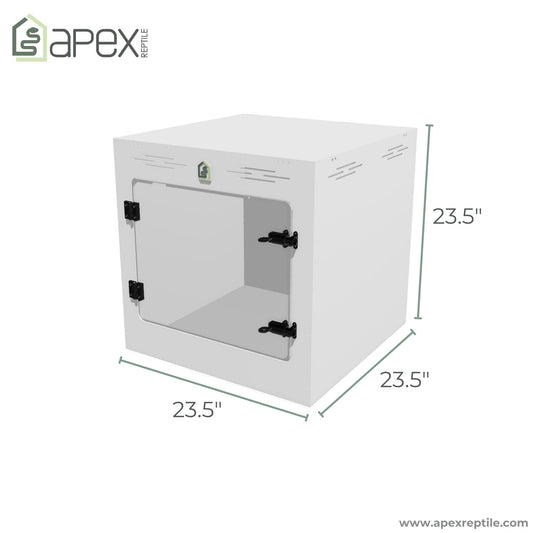
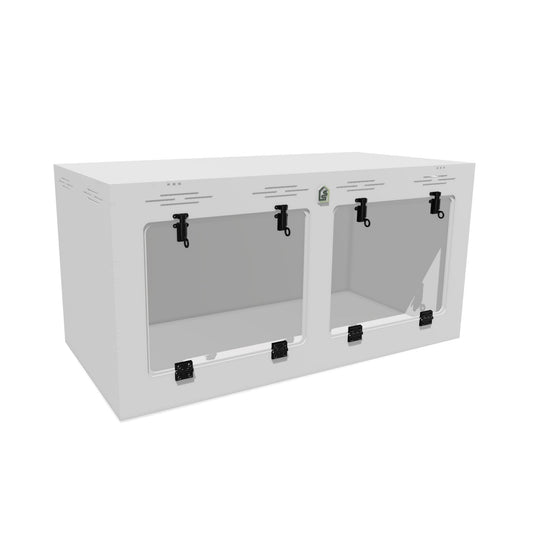
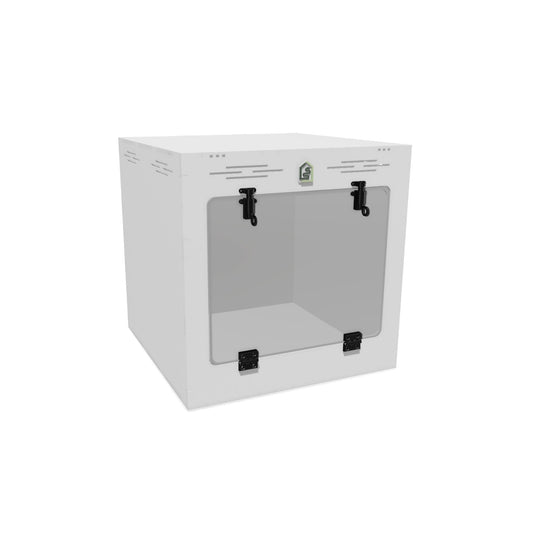
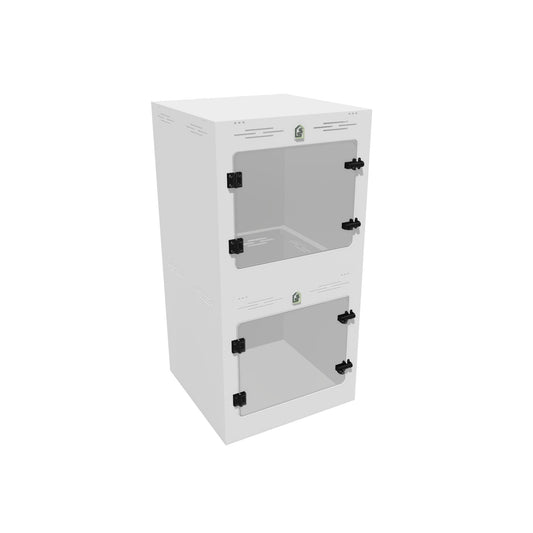
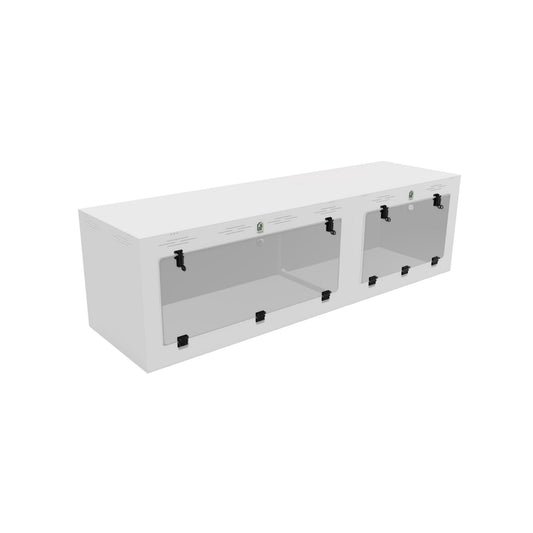
Assemble Your Enclosure Block


Sliding Doors (Bases)

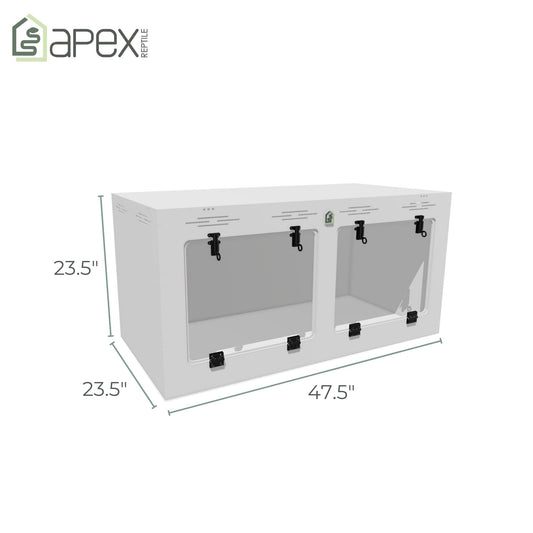
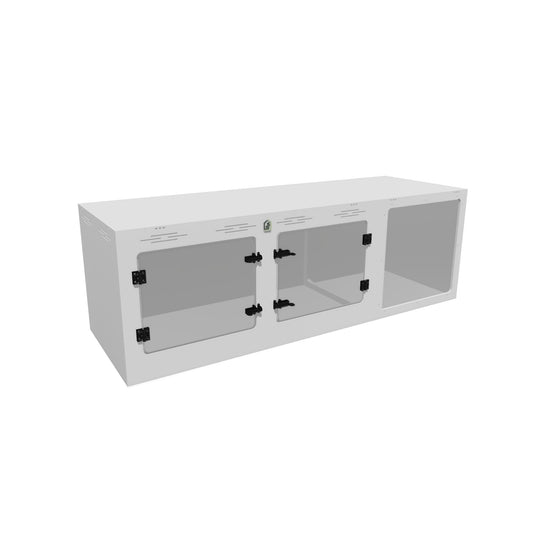
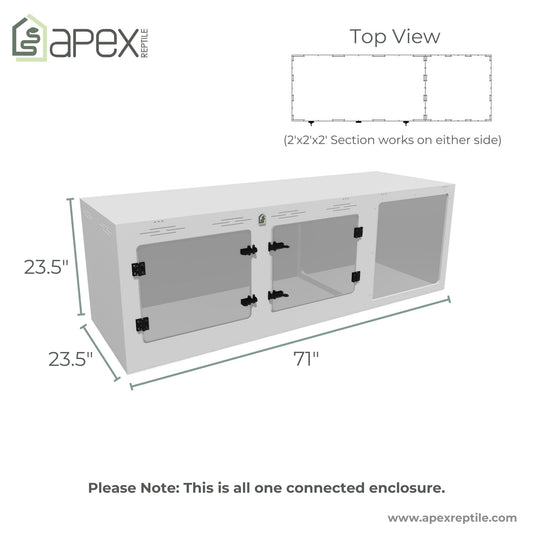
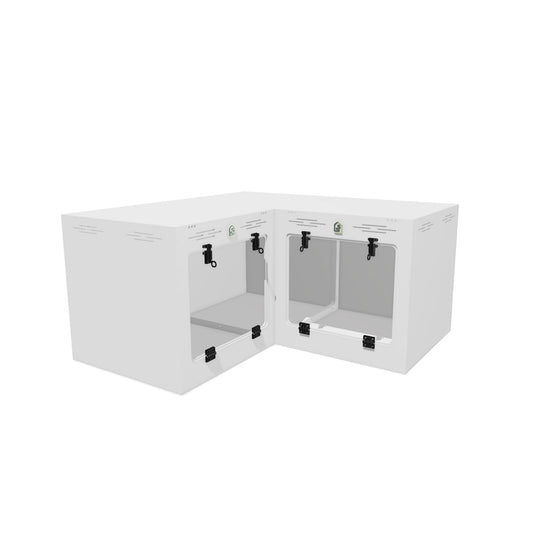
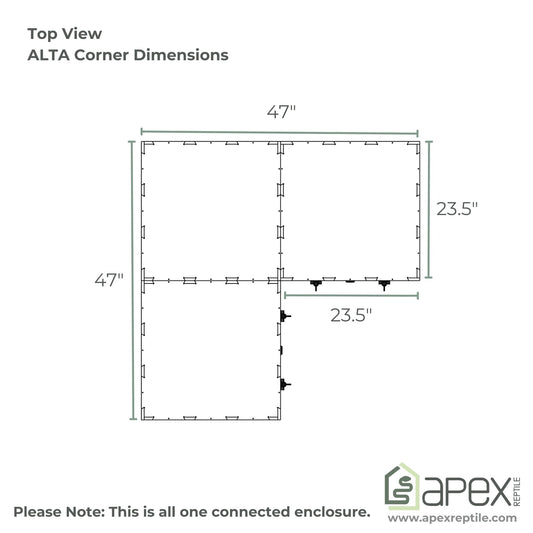
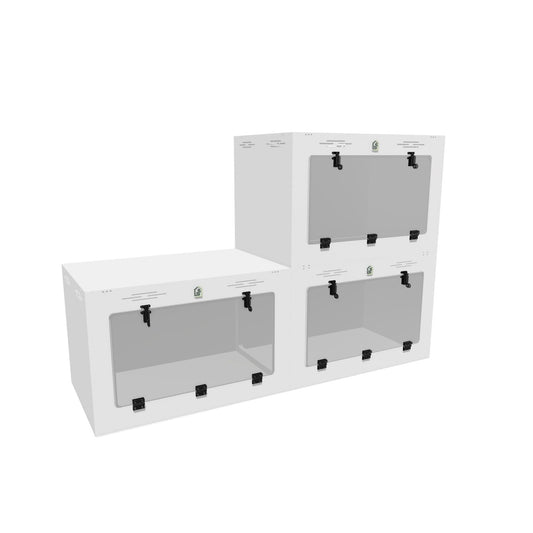
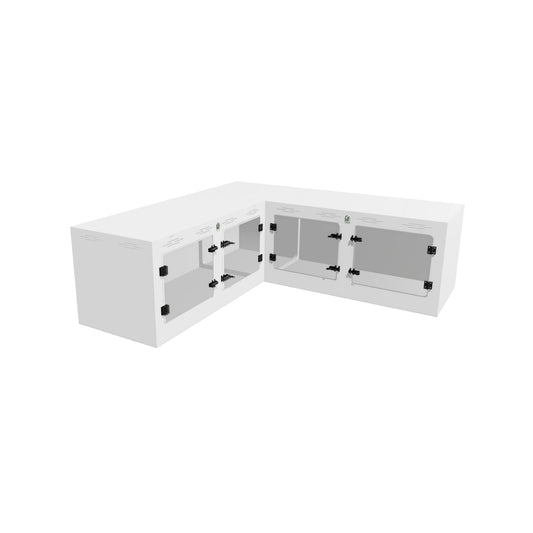
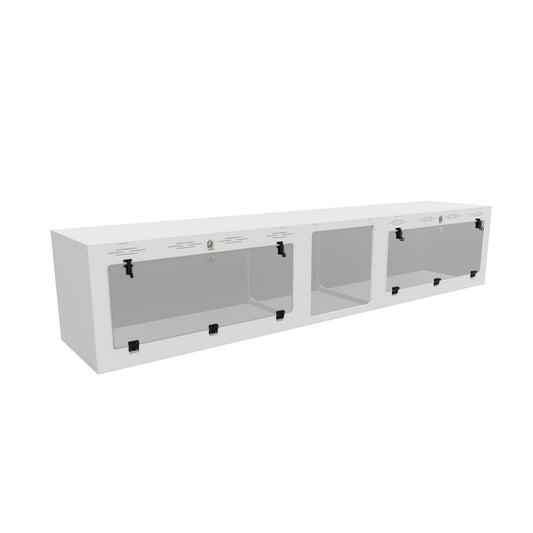
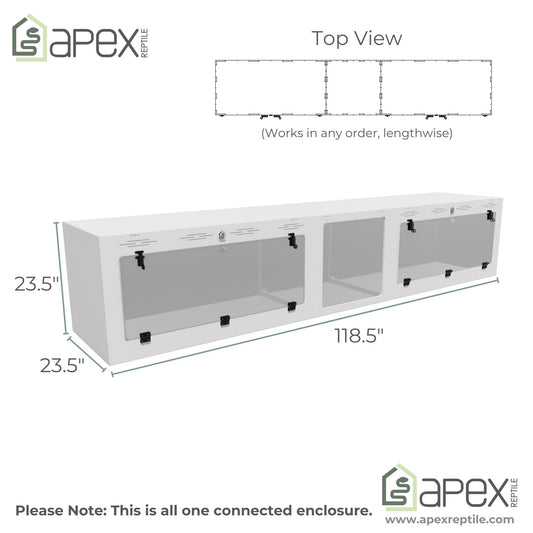
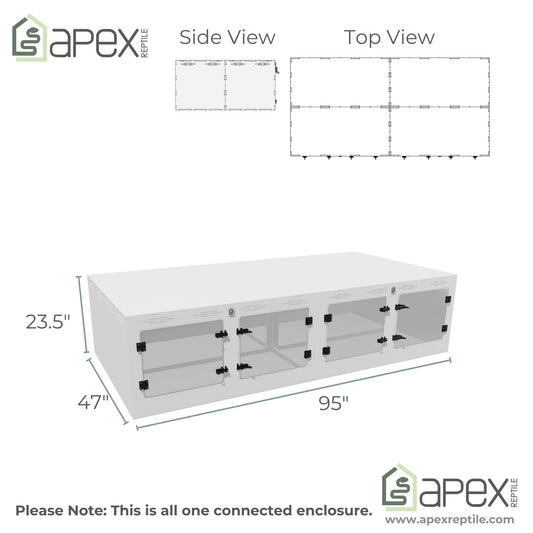
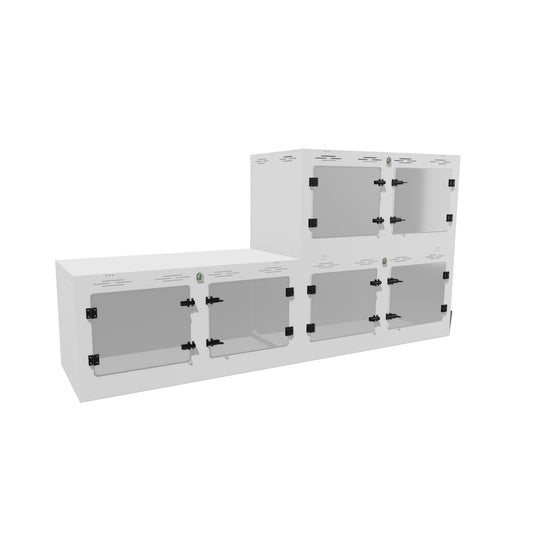
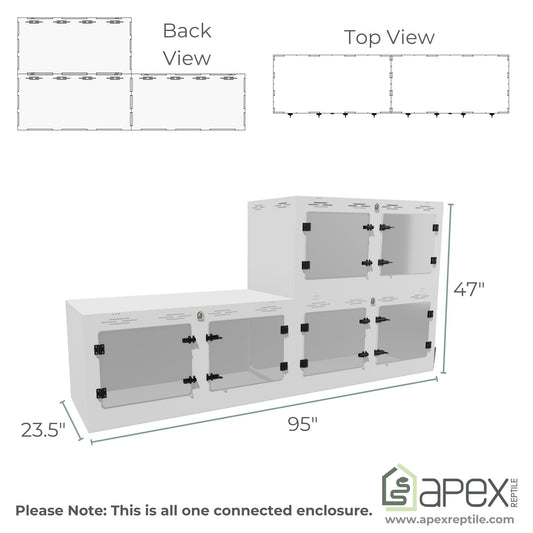
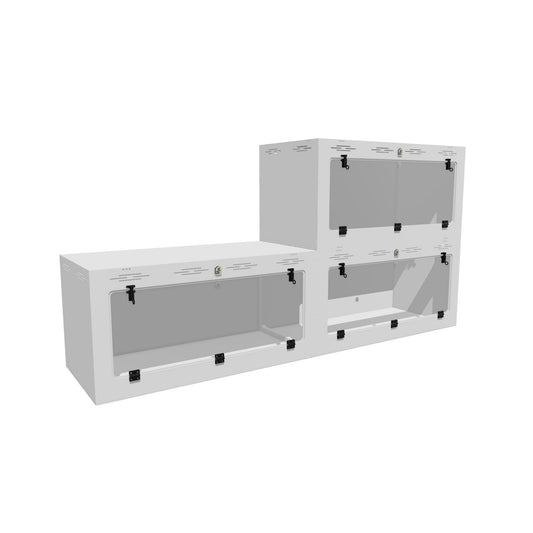
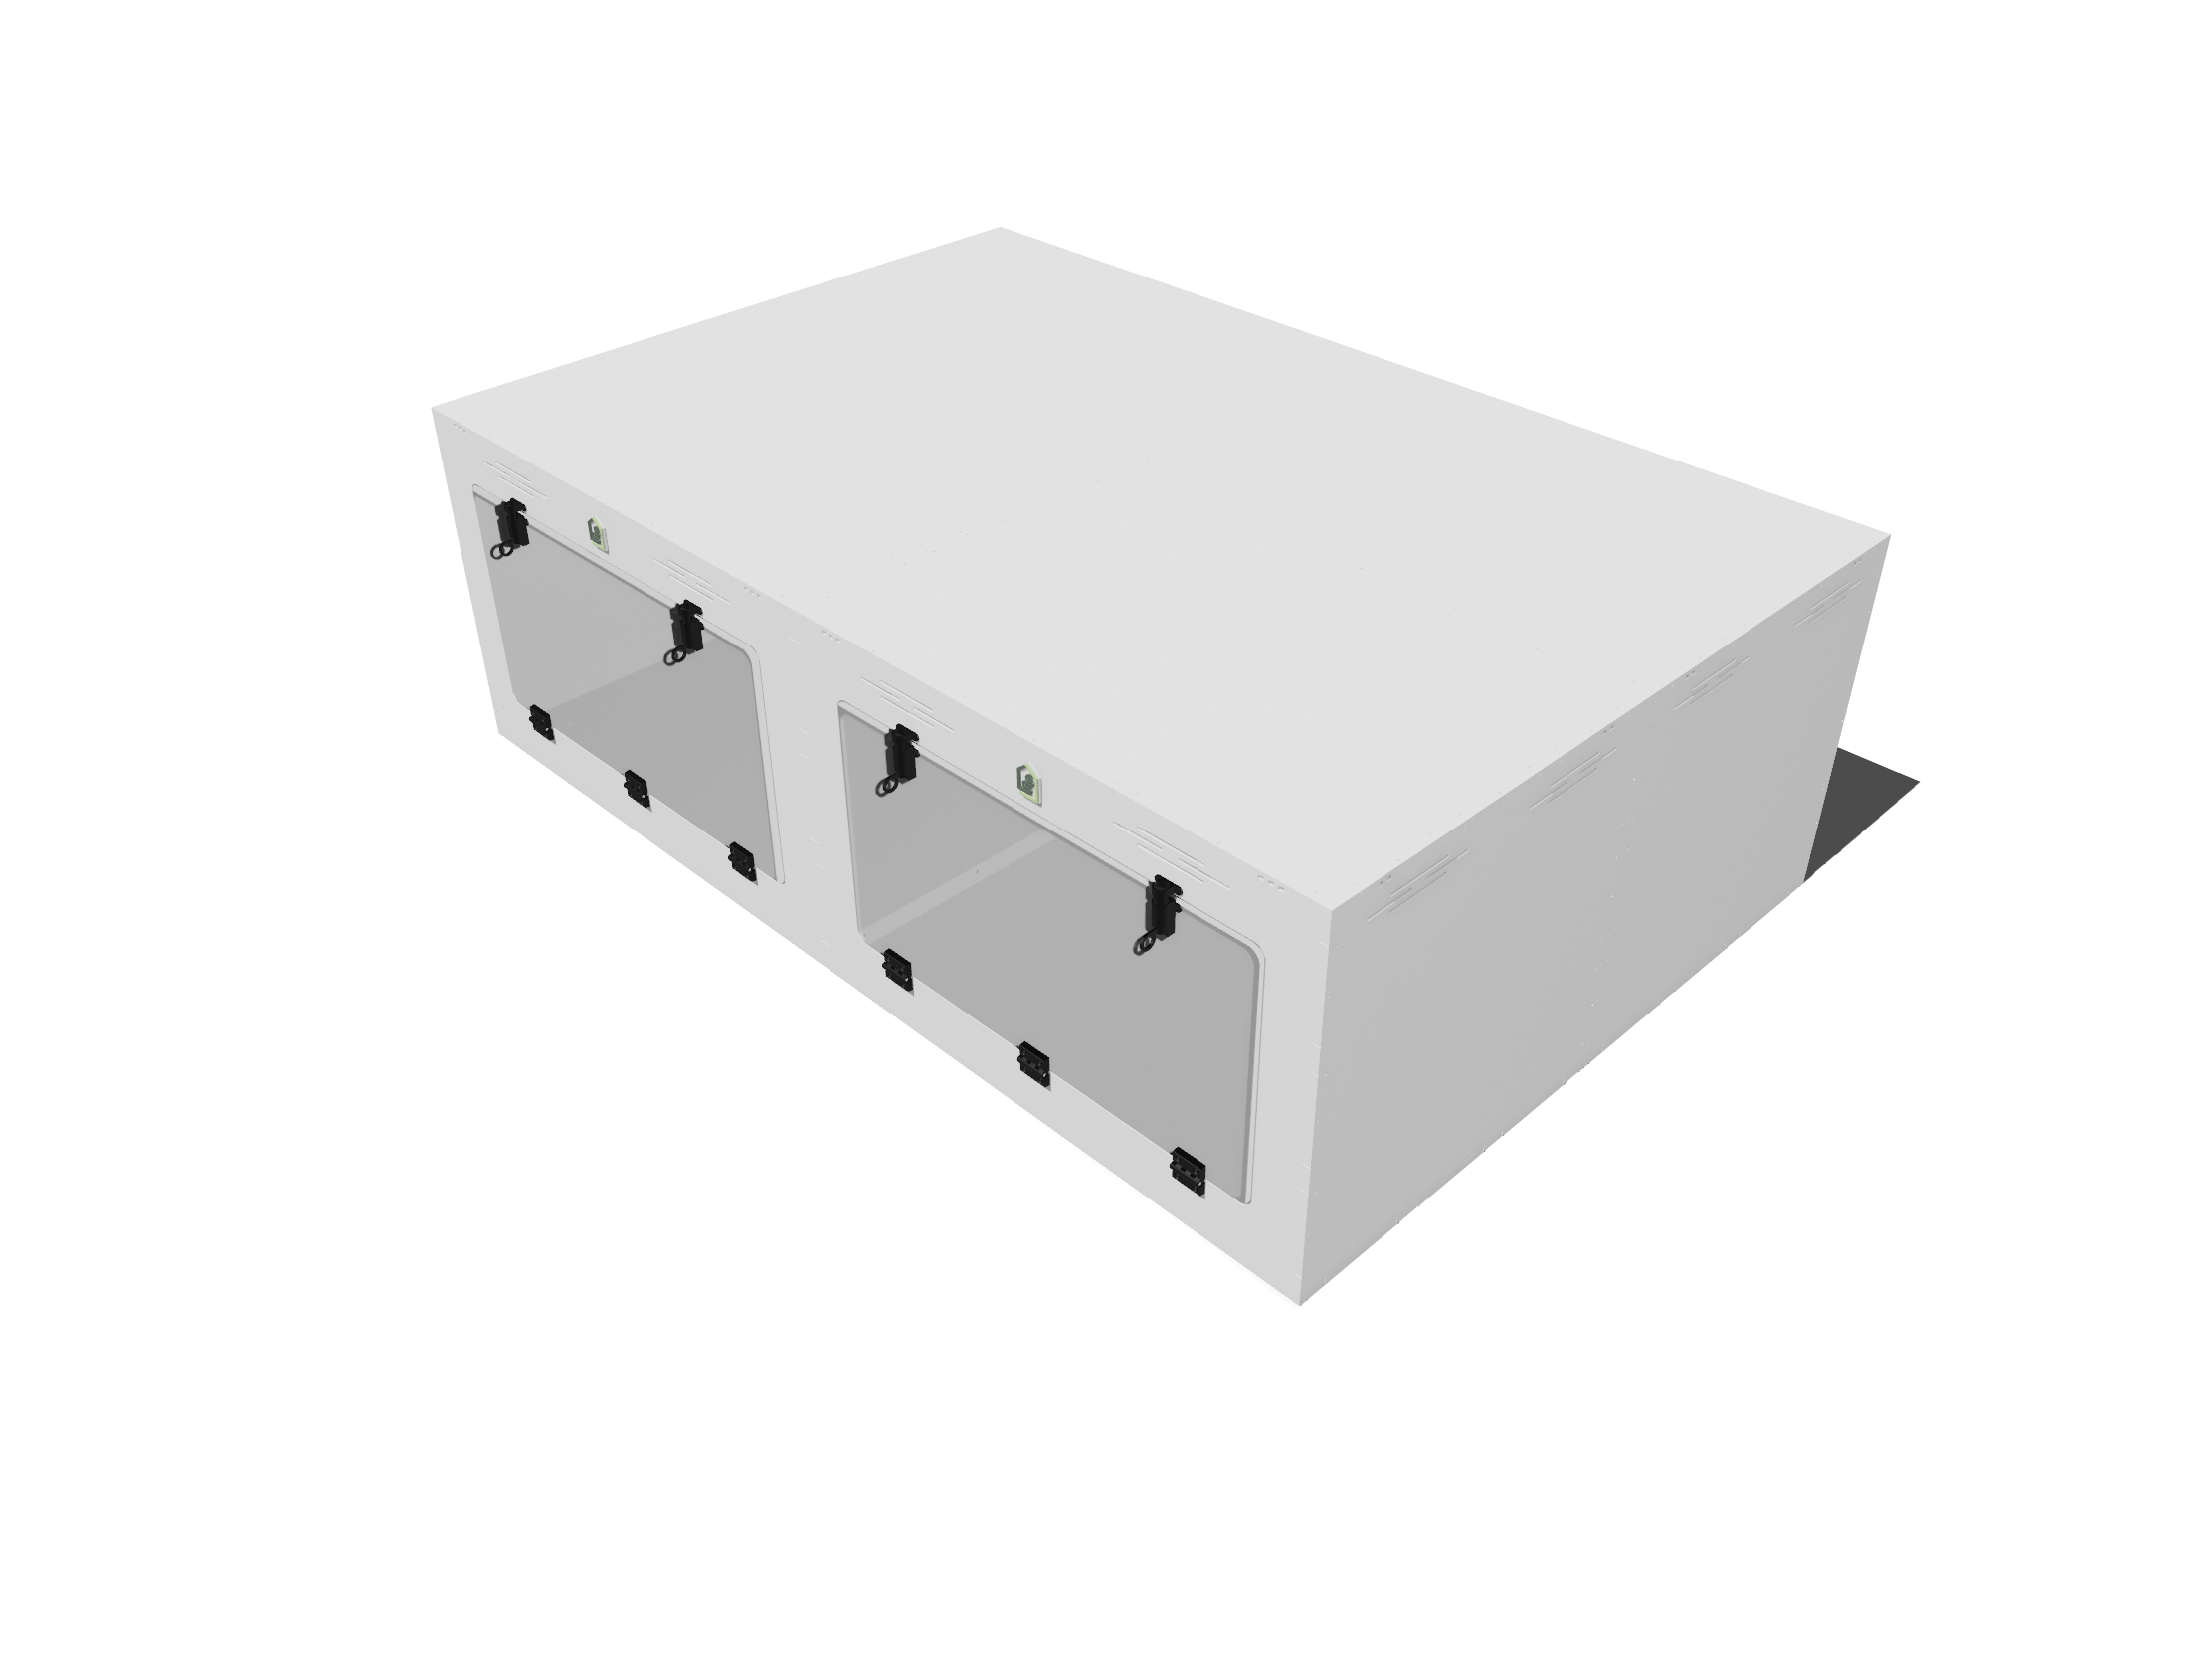
Larger Enclosure Assembly
-
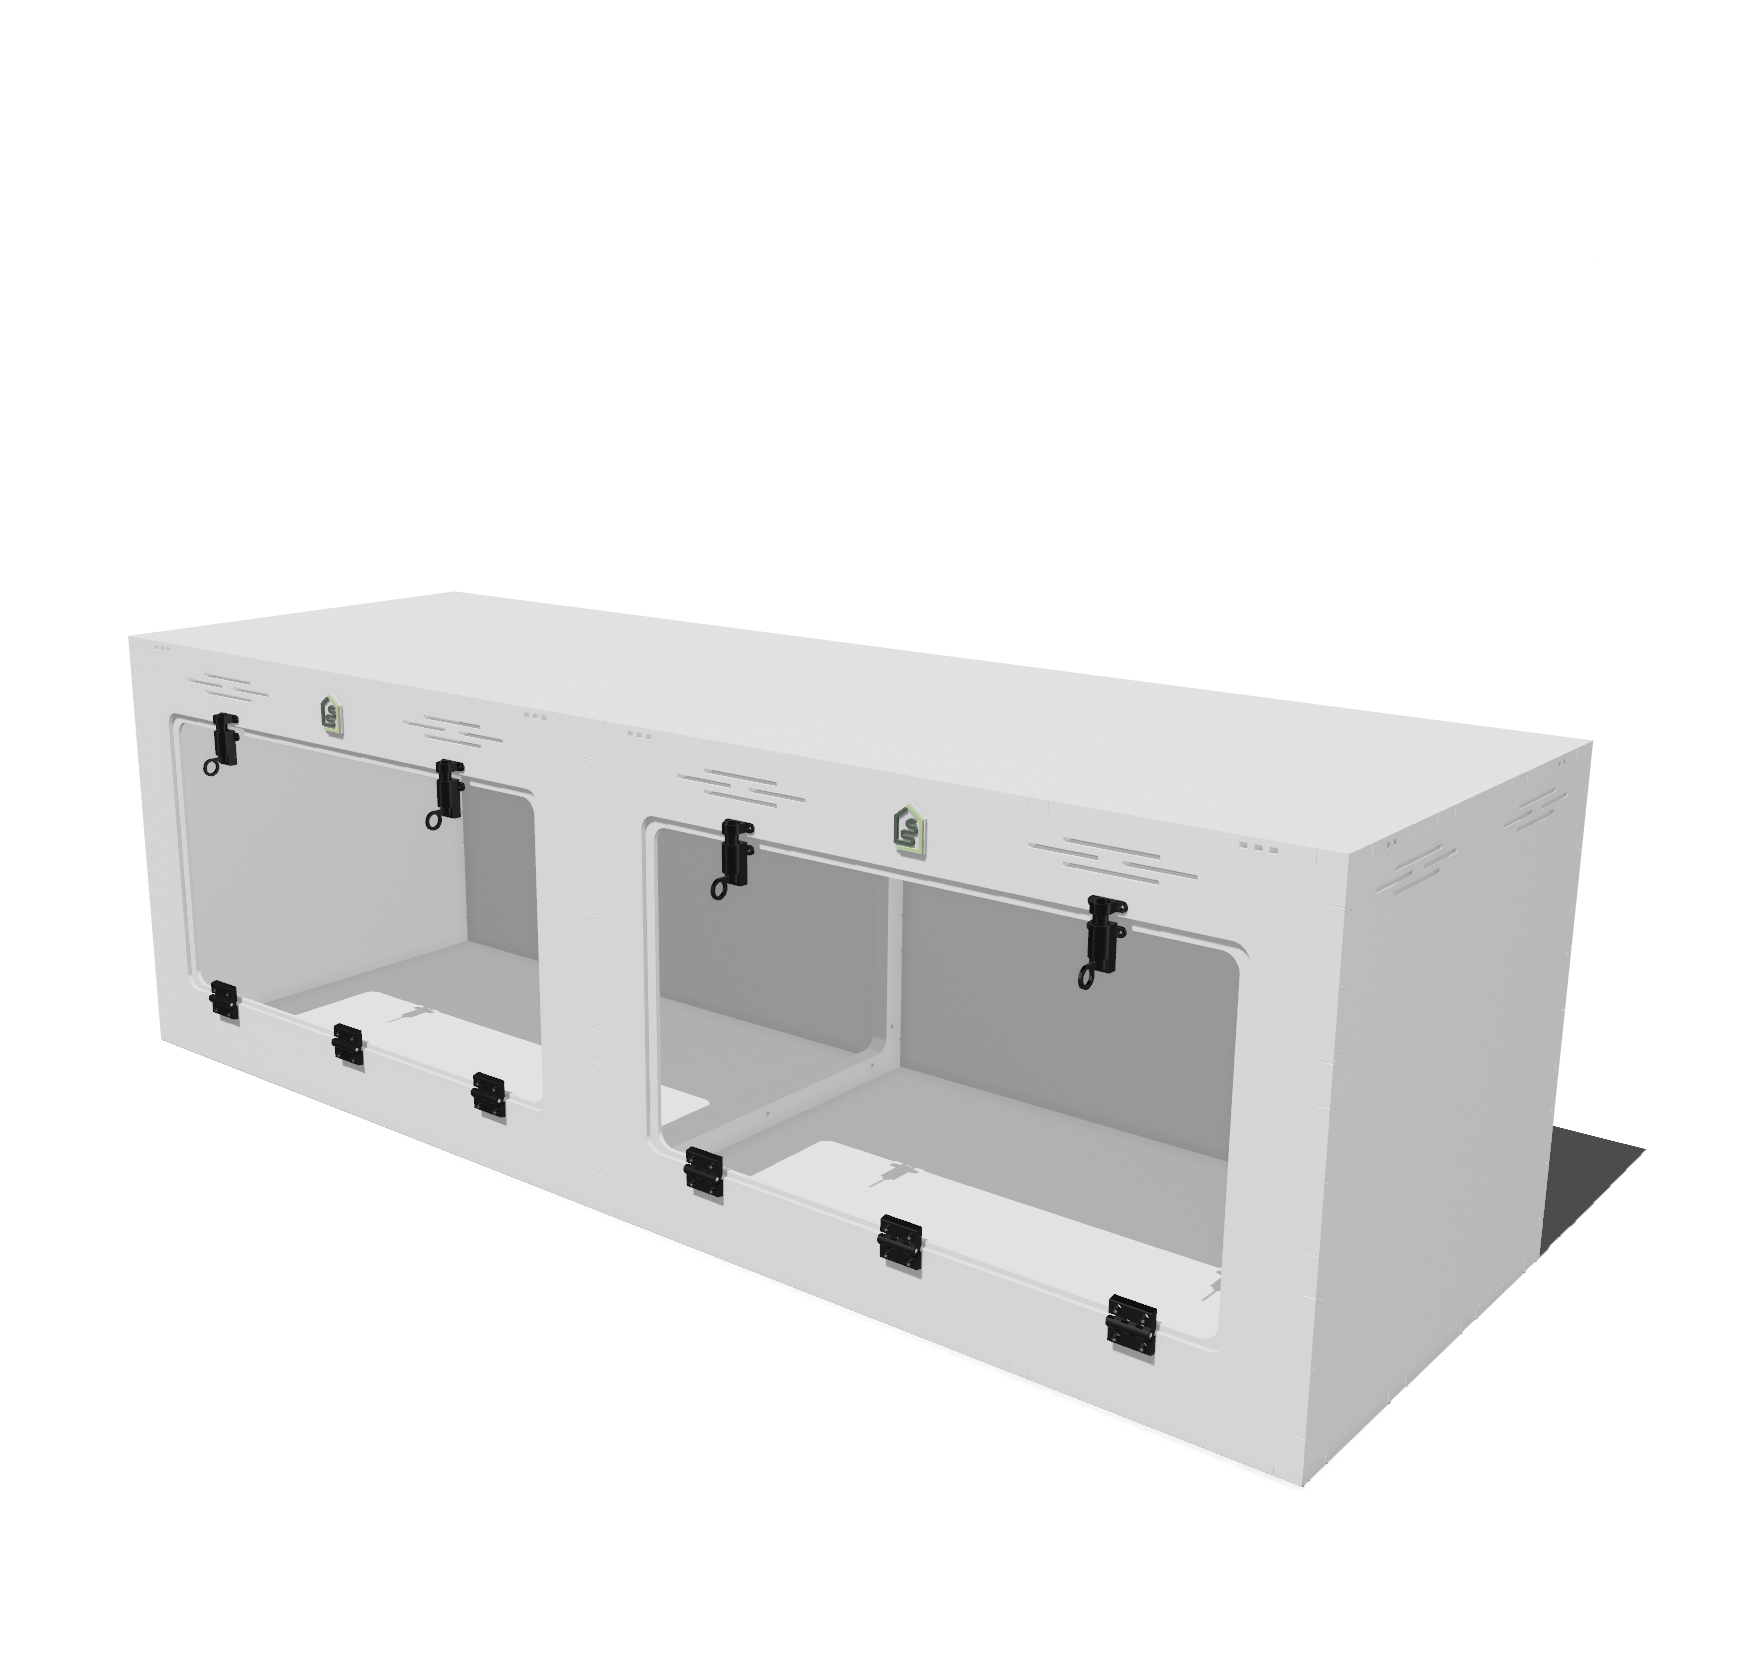
Two Block Enclosure
Download Instructions -
Four Block Enclosure
Download Instructions -

Eight Block Enclosure
Download Instructions


Want to learn even more about PVC?
-
4'x2'x2' - Single Swing Down - NOVA
Regular price From $599.00 USDRegular price -
4'x2'x2' - Double Swing Out - NOVA
Regular price From $599.00 USDRegular price -
3'x2'x2' - Swing Down - ION
Regular price From $499.00 USDRegular price -
6'x2'x2' - Classic Swing Down - ION + ION
Regular price From $899.00 USDRegular price -
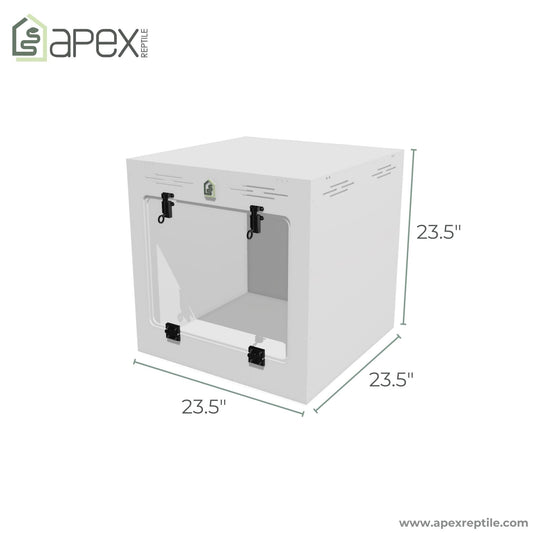
2'x2'x2' - Swing Out - ALTA
Regular price From $339.00 USDRegular price -
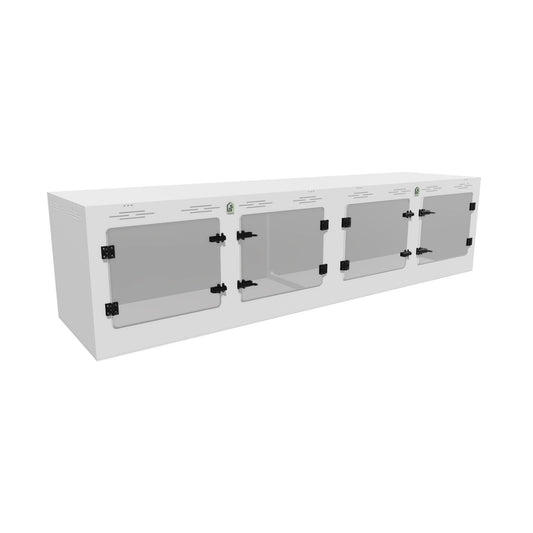
8'x2'x2' - Two Door Swing Down - NOVA + NOVA
Regular price From $1,099.00 USDRegular price -
5'x2'x2' - Swing Down - Future Corner Expansion Ready - ALTA + ION
Regular price From $699.00 USDRegular price -
4'x2'x2' - Double Swing Down - NOVA
Regular price From $599.00 USDRegular price -
6'x2'x2' - Single Swing Down - Future Corner Expansion Ready - ALTA + NOVA
Regular price From $899.00 USDRegular price -
8'x2'x2' - Terrestrial Corner Swing Down - ION
Regular price From $999.00 USDRegular price -
2'x2'x2' - Swing Down - ALTA
Regular price From $339.00 USDRegular price -
6'x2'x2' - Double Swing Out - Future Corner Expansion Ready - ALTA + NOVA
Regular price From $899.00 USDRegular price -
4'x2'x4' - Arboreal Single Swing Down - NOVA
Regular price From $1,099.00 USDRegular price -
6'x2'x2' - Terrestrial Corner Swing Down - ALTA
Regular price From $899.00 USDRegular price -
10'x2'x2' - Two Door Swing Down - Corner NOVA
Regular price From $1,299.00 USDRegular price -
8'x2'x2' - Four Door Swing Out - NOVA + NOVA
Regular price From $1,099.00 USDRegular price -
6'x2'x4' - Arboreal Swing Down - ION
Regular price From $1,699.00 USDRegular price -
2'x2'x4' - Arboreal Swing Out - ALTA
Regular price From $599.00 USDRegular price -
6'x2'x4' - Terrestrial Arboreal Hybrid Swing Down - ION
Regular price From $1,299.00 USDRegular price -
10'x2'x2' - Four Door Swing Out - Corner NOVA
Regular price From $1,299.00 USDRegular price -
7'x2'x2' - Double Swing Down - ION + NOVA
Regular price From $999.00 USDRegular price -
10'x2'x2 - Two Door Swing Down With Porthole - NOVA + ALTA + NOVA
Regular price From $1,299.00 USDRegular price -
8'x4'x2' - Deep Terrestrial Multi Door Swing Out - NOVA
Regular price From $1,899.00 USDRegular price -
8'x2'x4' - Terrestrial Arboreal Hybrid Multi Door Swing Out - NOVA
Regular price From $1,599.00 USDRegular price -
8'x2'x4' - Terrestrial Arboreal Hybrid Large Door Swing Down - NOVA
Regular price From $1,599.00 USDRegular price